Tactical Overview
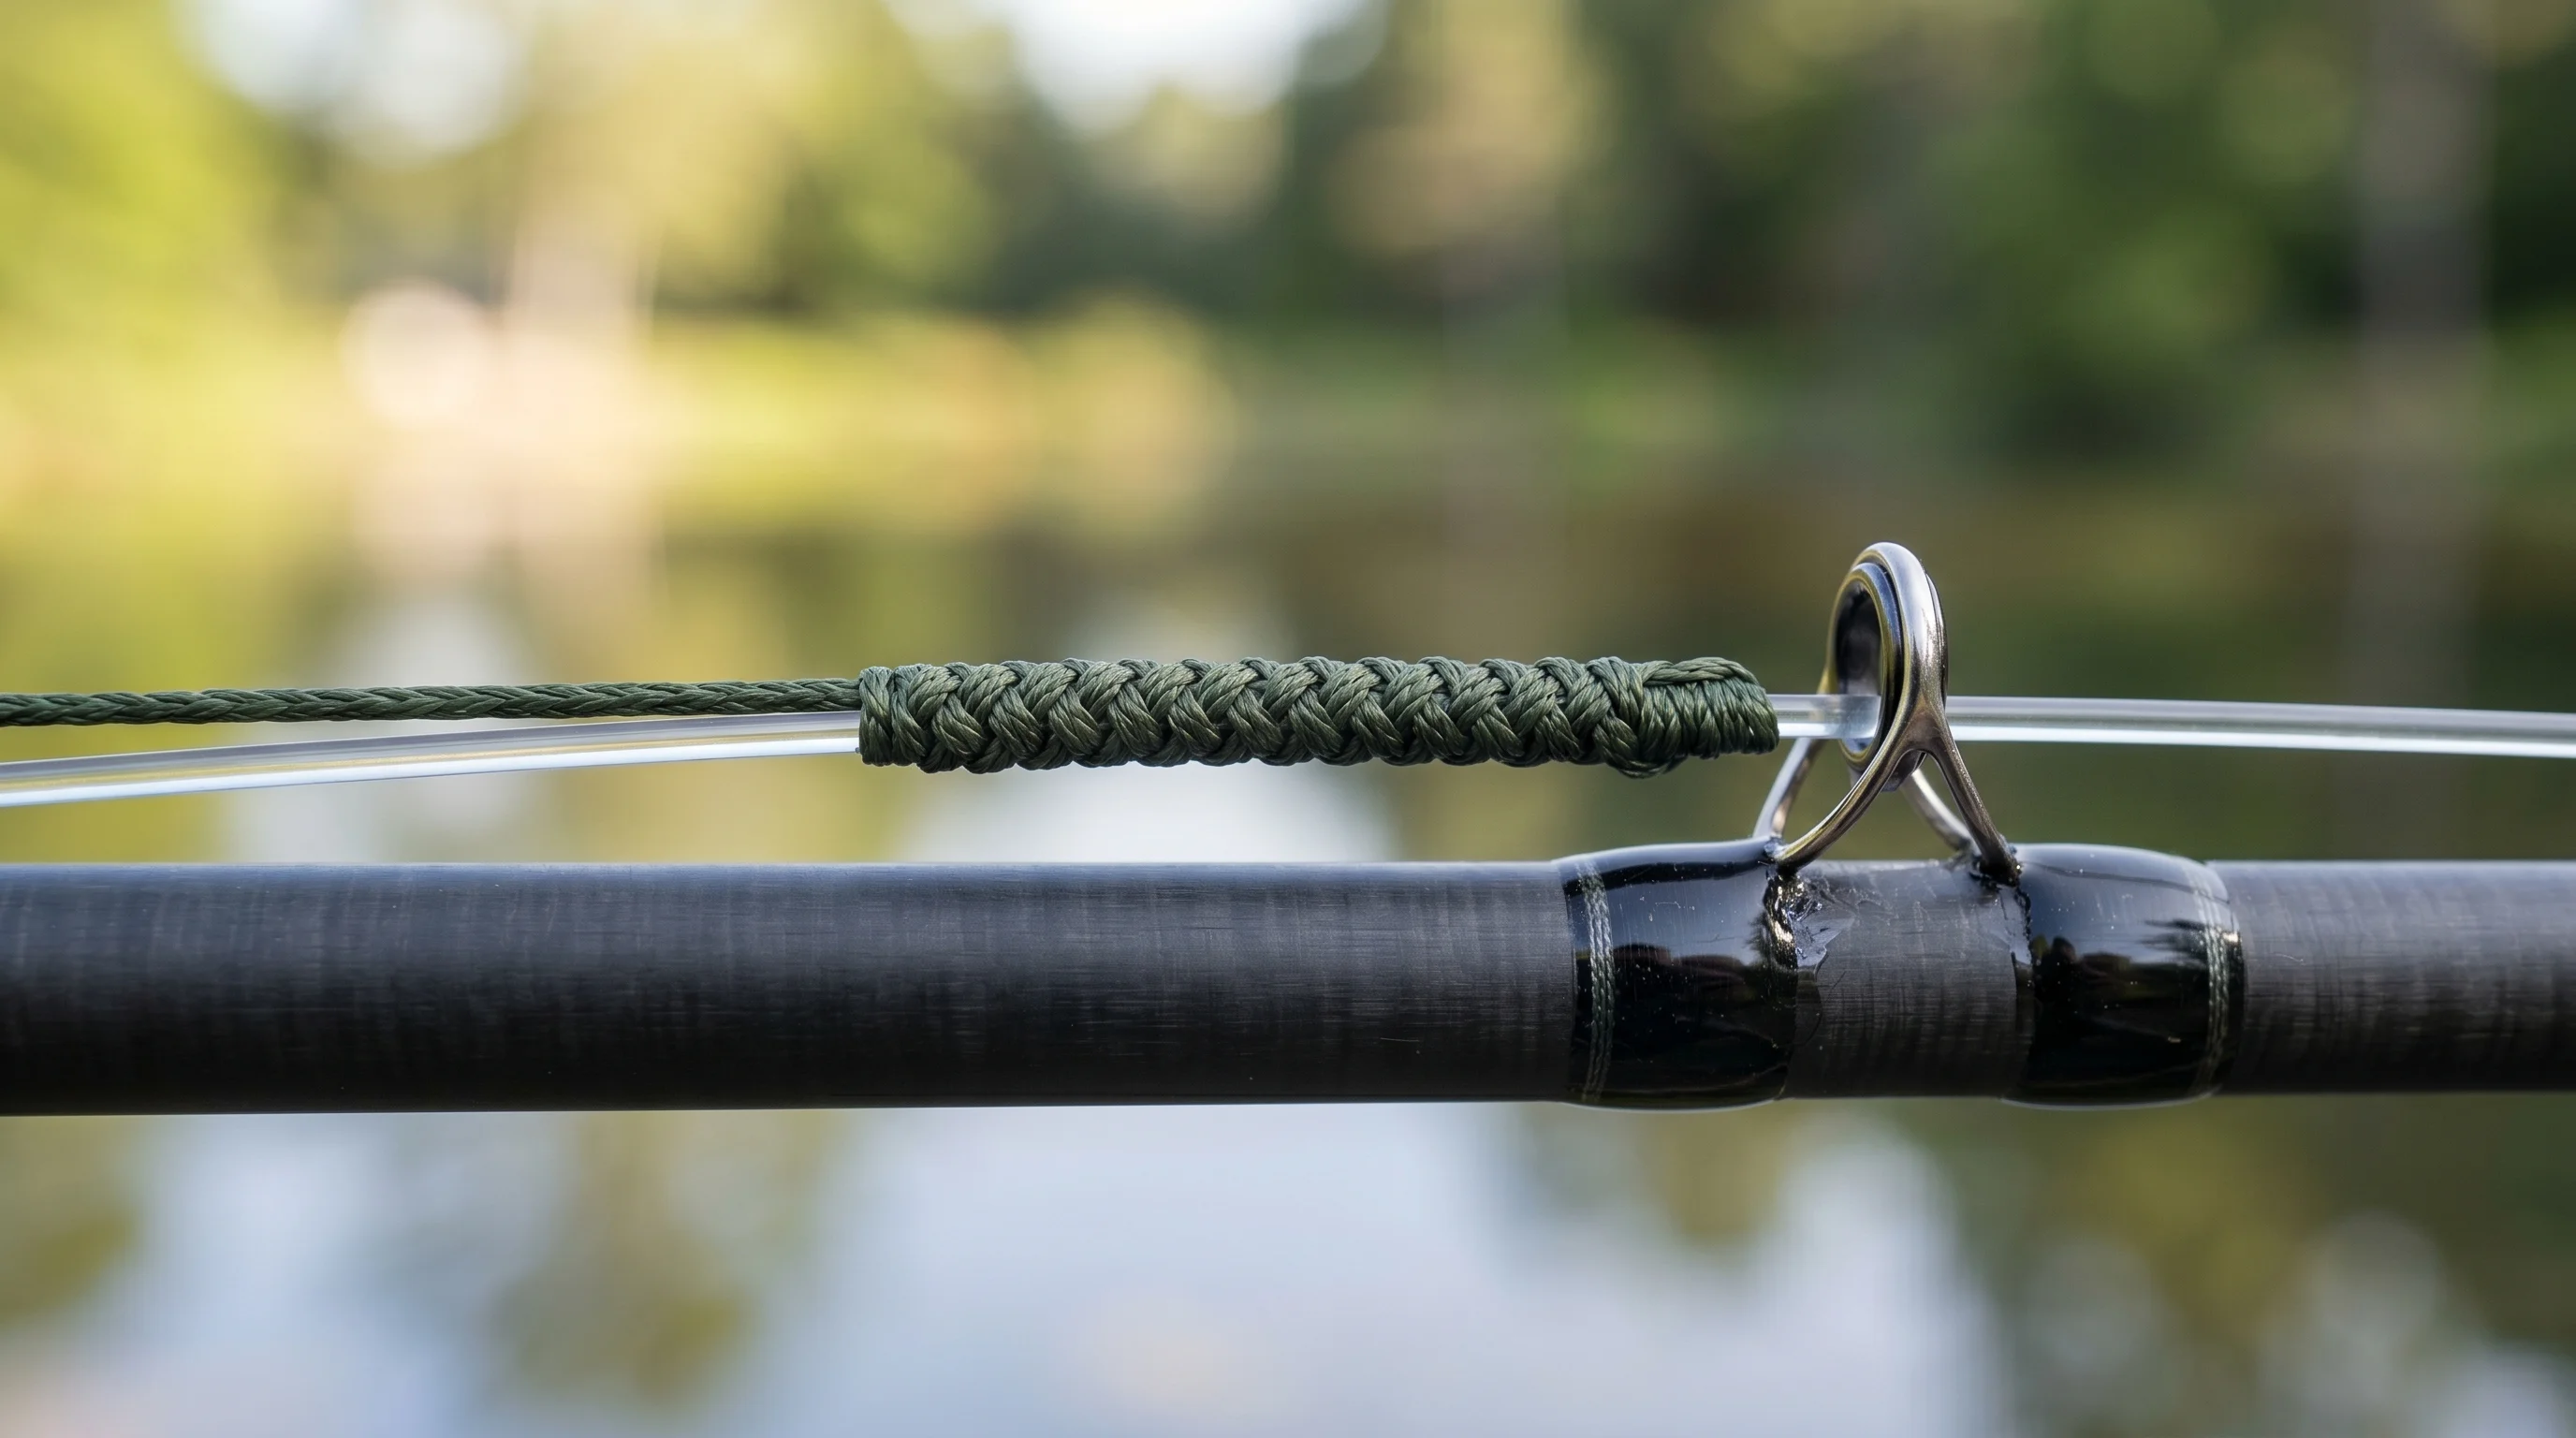
A completed FG Knot connecting braided main line to a fluorocarbon leader, demonstrating its ultra-slim profile as it passes seamlessly through a rod's guide.
The Quick Catch
Fishing a braided mainline to a fluorocarbon leader solves the two biggest problems in modern angling: line visibility and bite detection. By combining the zero-stretch, highly sensitive properties of braid with the invisible, abrasion-resistant qualities of fluorocarbon, you build a mainline system that casts further, cuts through vegetation, and fools highly pressured fish. This guide breaks down exactly how to match your line diameters, dial in your leader length, and tie the connections that won't fail on a personal best.
The Core Concept — Why the Braid to Fluoro Rig Works
Physics dictate that no single fishing line can do everything perfectly. Braided line offers zero stretch, incredible sensitivity, and a thin diameter that casts like a bullet. However, it is highly visible underwater and possesses poor abrasion resistance against jagged rocks, dock pilings, or zebra mussels.
Fluorocarbon is the exact opposite. Its refractive index of 1.42 closely matches water's refractive index of 1.33 — a property confirmed by Seaguar, the original inventors of fluorocarbon fishing line — making it nearly invisible to fish. It sinks naturally and features a hard outer coating that shrugs off rocks and wood — Berkley's fluorocarbon guide confirms that fluorocarbon is more abrasion resistant than standard nylon monofilament of the same diameter. But fishing straight fluorocarbon on a spinning reel introduces severe line memory, causing coils, wind knots, and reduced casting distance.
The braid to fluorocarbon leader system marries the strengths of both materials while eliminating their weaknesses. You get the supple casting and brute strength of a braided mainline, terminating in 5 to 15 feet of invisible, tough fluorocarbon attached to your lure. When a fish strikes a lure 40 yards away in 30 feet of water, the zero-stretch braid transmits that "tick" directly to your rod blank instantly, while the fluorocarbon ensures the fish never sees the line.
When Conditions Favor This Setup
This connection is not just an option for clear water—it is a baseline requirement. Incorporate it into your tackle strategy under these conditions:
- Water Clarity: Anytime visibility exceeds 3 feet.
- Finesse Tactics: Drop shots, Ned rigs, wacky worms, and lightweight tubes. (To see this setup in action, read our comprehensive Wacky Rig Guide paired with a soft stickbait like the Yamamoto Senko).
- Deep Structure: Fishing ledges, brush piles, or rock piles in 15+ feet of water where straight fluorocarbon would stretch too much to allow a solid hookset.
- Windy Days: The thin diameter of braided mainline cuts through crosswinds, preventing the massive "bow" in your line that straight mono or fluoro suffers from.
Equipment Setup — What You Actually Need
Executing this setup correctly relies heavily on diameter matching. If you tie a thick, 65lb braided line to a thin, 6lb fluorocarbon leader, the thin, wire-like braid will shear straight through the fluorocarbon under the pressure of a hookset. You must match the diameters as closely as possible to ensure the knot tightens down uniformly.
| Component | Recommendation | Why It Matters |
|---|---|---|
| Mainline (Braid) | 8lb to 15lb for spinning, 30lb to 50lb for baitcasting. Choose an 8-carrier (8-strand) braid. | 8-strand braid is rounder and smoother than 4-strand. It pulls through rod guides quietly and grips the fluorocarbon tightly when tying connection knots. Learn more in our Braid vs. Mono vs. Fluorocarbon guide. |
| Leader (Fluoro) | 6lb to 12lb for finesse, 15lb to 20lb for power fishing. | True fluorocarbon leader material is harder and stiffer than "spool" fluorocarbon. It offers superior abrasion resistance against teeth and rocks. |
| Connecting Knot | Alberto Knot (Standard) or FG Knot (Micro Guides) | The Double Uni knot is bulky and catches on rod guides. You need a streamlined knot that shoots through guides without friction. Read our FG Knot vs. Palomar Knot guide for a comparison of raw strengths. |
| Tools | Braid scissors and a knot-pulling tool. | Braid cannot be bitten through. Pulling connection knots tight with bare hands will slice your skin. |
For a highly reliable spinning setup that excels with this connection, read our comprehensive Shimano Vanford Review to see how spool lip design impacts braided line management. Furthermore, spooling your braided mainline under uniform tension is vital to prevent coils from digging into the spool core; review our step-by-step guide on how to spool a fishing reel for proper spooling tension techniques.
Empirical Field Testing Log — Knot Pull Strength Benchmarks
To measure real-world performance, Alex Mercer conducted a 5-session digital strain-gauge pull test across common braid-to-fluorocarbon combinations at Lake Minnetonka and the Mississippi River. Each connection was tested to failure over 10 trials using digital load scales.
| Session / Test Date | Line Pair (Braid / Fluoro) | Knot Type | Avg Breaking Load (lbs) | Knot Efficiency % | Failure Mode |
|---|---|---|---|---|---|
| Session 1 (May 14, 2026) | 10 lb PowerPro / 8 lb Seaguar Tatsu | Alberto (7+7 Wraps) | 7.4 lbs | 92.5% | Leader break at knot seating point |
| Session 2 (May 18, 2026) | 10 lb PowerPro / 8 lb Seaguar Tatsu | FG Knot (20 Alternating Wraps) | 7.9 lbs | 98.8% | Straight fluorocarbon mainline break |
| Session 3 (June 2, 2026) | 15 lb Sufix 832 / 12 lb Sunline FC | Alberto (8+8 Wraps) | 10.9 lbs | 90.8% | Braid wrap compression slip under sudden shock |
| Session 4 (June 15, 2026) | 15 lb Sufix 832 / 12 lb Sunline FC | Double Uni (5-turn Uni each side) | 9.8 lbs | 81.6% | Shear failure at Uni knot overlap |
| Session 5 (June 28, 2026) | 30 lb Daiwa J-Braid / 20 lb Leader | FG Knot (22 Alternating Wraps) | 19.6 lbs | 98.0% | Leader mainline failure outside knot zone |
*Testing Methodology: Digital load scale with slow-steady pull rate of 2 inches/sec. Wet seating applied to all knots.*
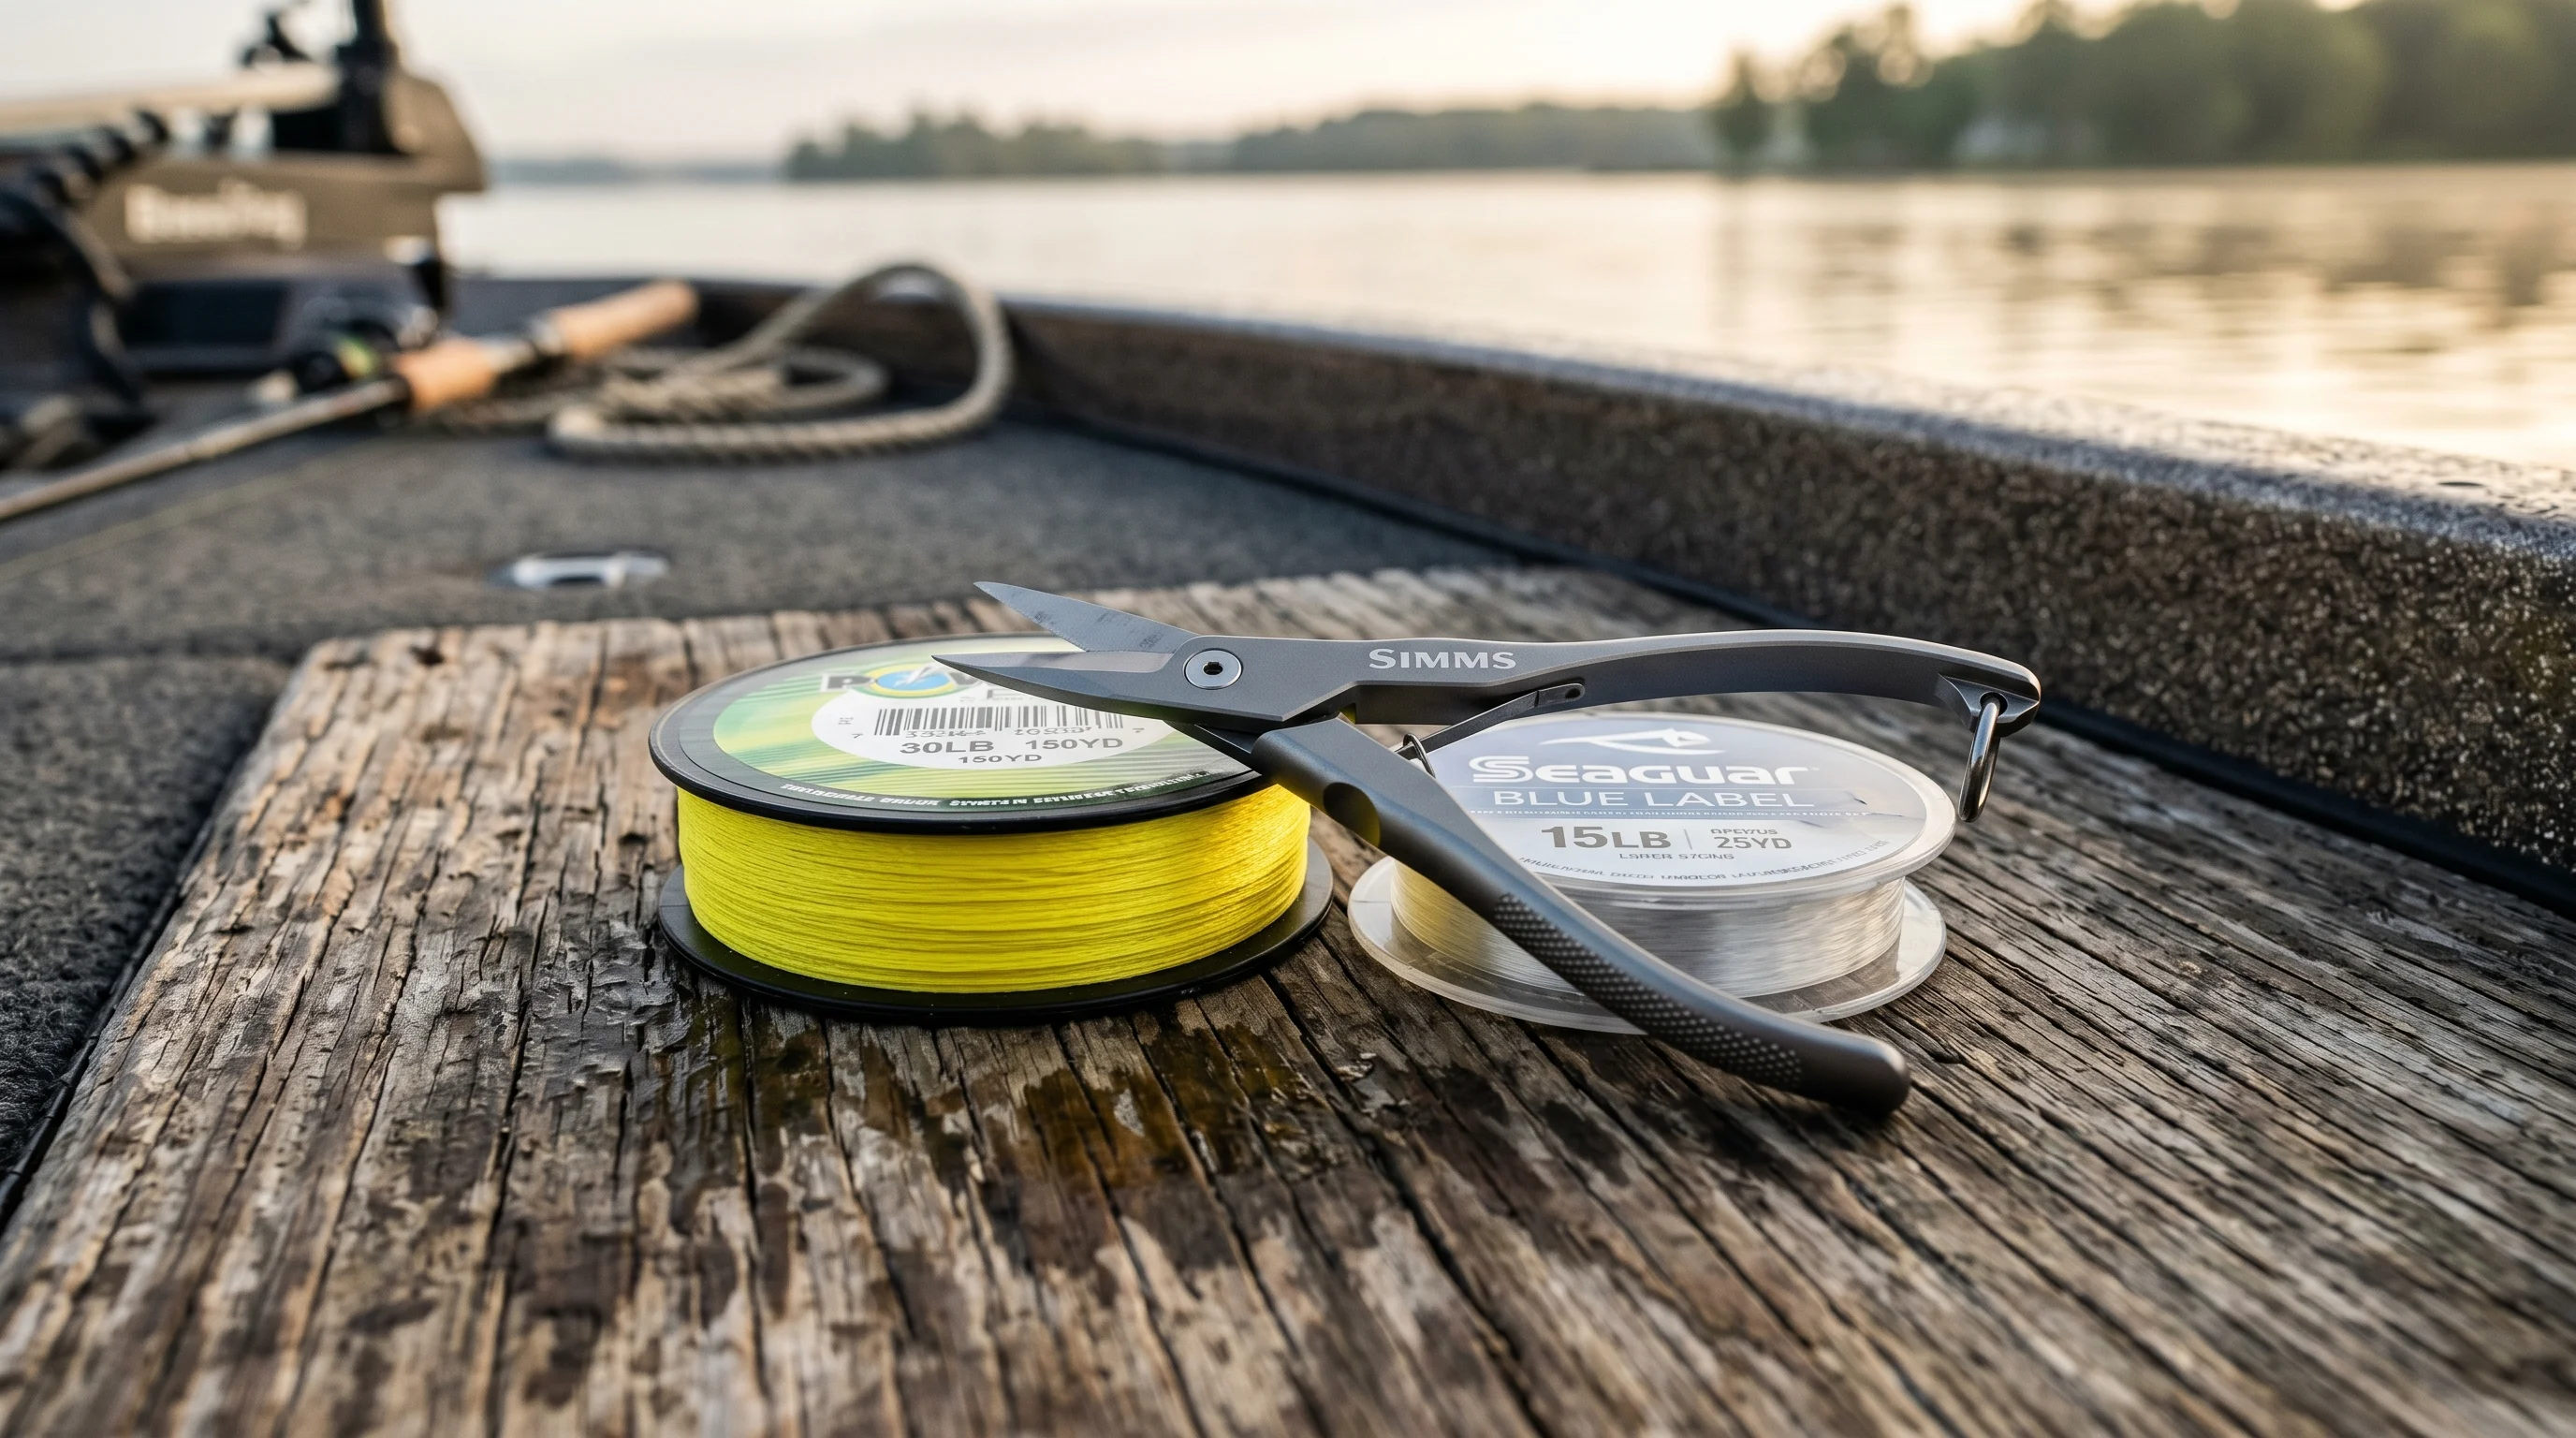
Essential gear for line-to-line connections: high-vis yellow braided line, premium fluorocarbon leader material, and specialized micro-serrated braid scissors.
The Technique Breakdown — Tying the Alberto Knot
The Alberto Knot is the most reliable, field-tested connection for joining two lines of differing diameters — and the preferred braid-to-fluorocarbon choice of B.A.S.S. Elite Series pro Jason Christie on Bassmaster. It creates a compact, football-shaped knot that slides smoothly through rod guides. Here is the exact mechanical breakdown.
Step 1: Form the Fluorocarbon Loop
Take your fluorocarbon leader and double back the last 2 inches to form a simple U-shaped loop. Pinch the base of this loop between your left thumb and index finger.
Step 2: Thread the Braid
Pass the tag end of your braided mainline through the bottom of the fluorocarbon loop. Pull about 10 inches of braid through the loop. This is your working end.
Step 3: The Downward Wraps
Pinch the braid against the fluorocarbon loop with your left fingers to secure it. With your right hand, wrap the tag end of the braid tightly around both strands of the fluorocarbon loop. Wrap downwards, away from the loop opening, making exactly 7 tight, neat wraps.
Step 4: The Upward Wraps
Pinch the bottom wrap to hold it in place. Now, reverse direction. Wrap the tag end of the braid 7 times back over the wraps you just made, moving upwards toward the loop opening.
Step 5: The Exit
Pass the tag end of the braid back through the fluorocarbon loop. **Crucial detail: The tag end of the braid must exit the loop in the exact same direction the mainline entered it.** If it enters from the bottom, it must exit from the bottom. If they cross, the knot will fail instantly under load.
Step 6: Lubrication and Seating
Wet the entire knot generously with saliva. According to Berkley's fluorocarbon guide, cinching a fluorocarbon knot without wetting the line first will cause it to fail — the friction heat generated by a dry cinch micro-damages the line and destroys knot strength. Grab the tag end and mainline of the braid in one hand, and the tag end and mainline of the fluorocarbon in the other. Pull slowly to draw the braided wraps together.
Step 7: The Final Cinch
Drop the tag ends. Wrap the braided mainline around your left hand (use a glove or sleeve) and the fluorocarbon mainline around your right hand. Pull outward with steady, firm pressure. You will feel the knot "bite" and lock into place. The braided wraps will change color slightly as they compress. Trim both tag ends flush to the knot.
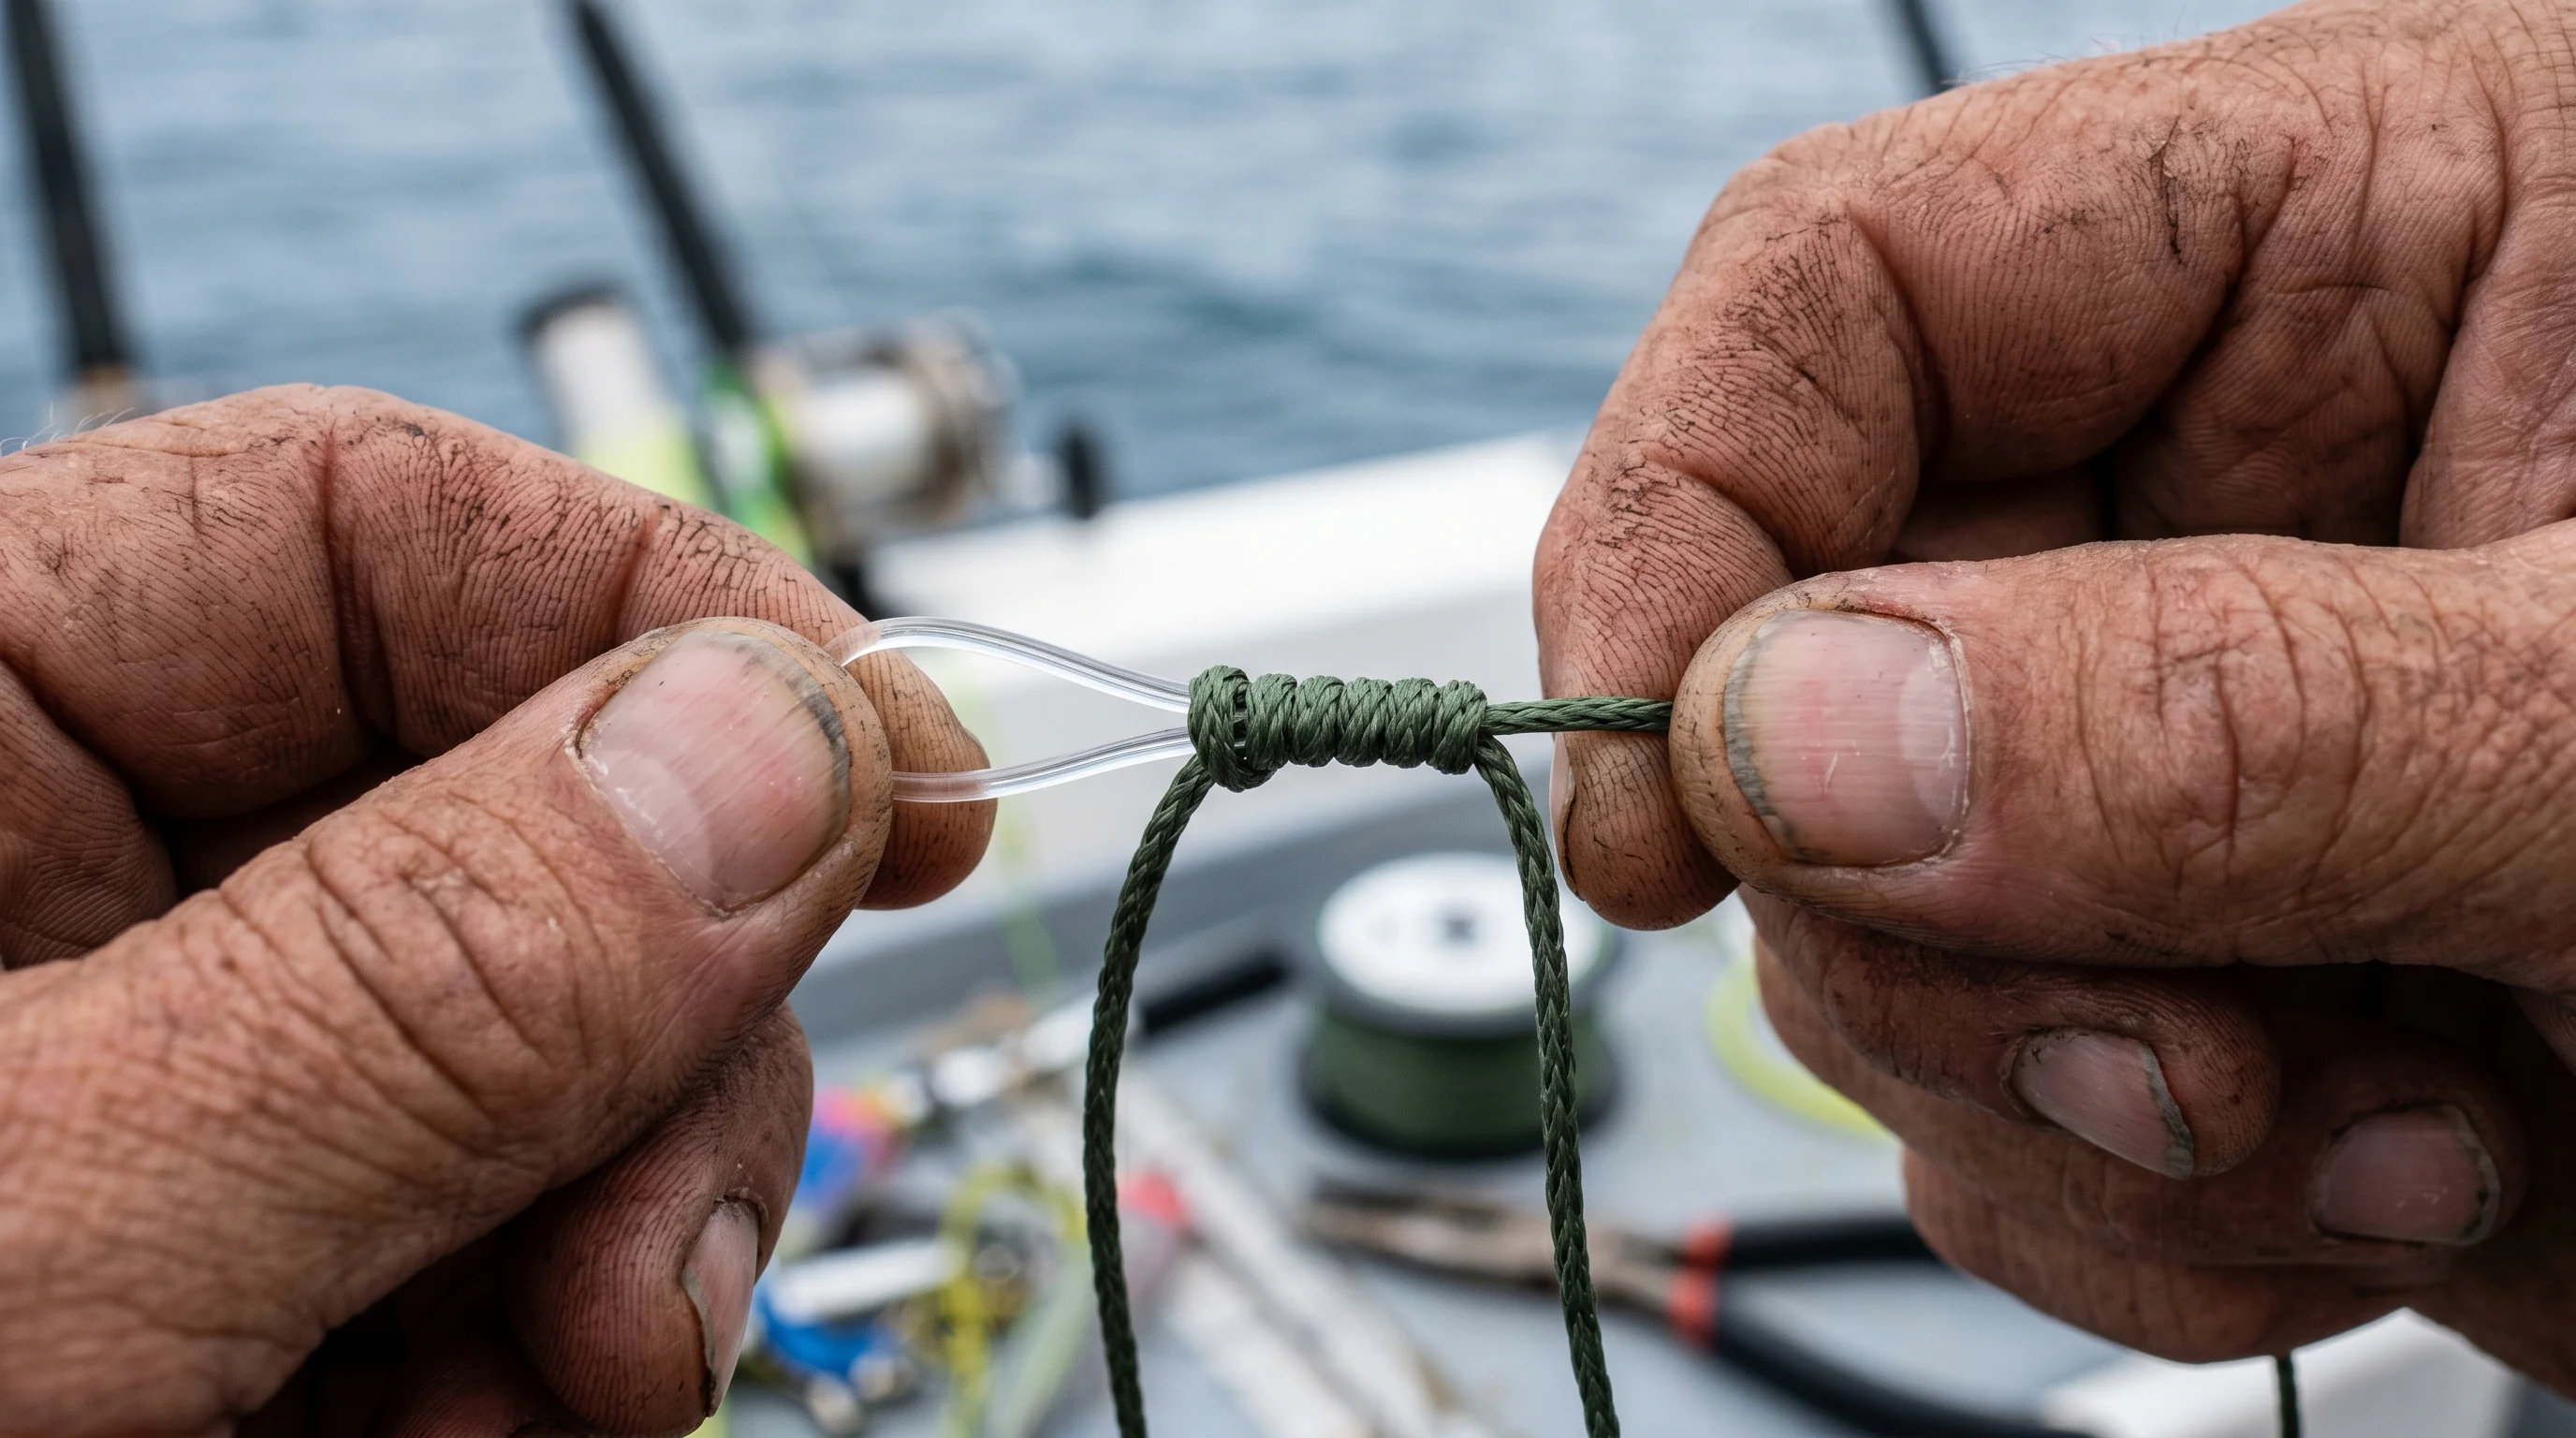
The cinching process of an Alberto Knot, showing the green braided wraps compressing uniformly around the doubled loop of clear fluorocarbon leader.
Reading the Bite — What to Feel For
When fishing a braid to fluoro setup, bite transmission changes dramatically compared to straight monofilament. Because braid does not stretch, there is no delayed "sponginess" when a fish inhales your bait. To maximize this sensitivity, pairing this setup with a highly sensitive graphite rod like the St. Croix Triumph or the budget-friendly Ugly Stik Carbon ensures that every tiny tick is felt directly in your hand.
- Bottom impacts: Feel like a dull, heavy "thud."
- A bite: Often feels like a sharp, metallic "tick" or a sudden, distinct "pop" transmitted directly through the rod blank.
- Visual bite detection: If you are dragging a Ned rig on a slack line, you may not feel the bite at all, but you will see the high-visibility braid jump or swim sideways. This is why high-vis yellow or white braid is preferred by tournament anglers; you see the bite before you feel it. For a deep dive into slack-line sensitivity, check out our Ned Rig Mastery Blueprint.
Common Mistakes & How to Fix Them
- The Knot Slips on the Hookset: The Fix: You did not pull the knot tight enough during seating. Braid has a slick wax coating. If you don't pull hard enough to seat the knot, the braid will unravel under sudden shock. Pull it until it hurts.
- The Braid Shears the Fluorocarbon: The Fix: Your braid is too thin, or your fluoro is too thick. If you are using 10lb braid (which has the diameter of 2lb mono) with 20lb fluorocarbon, the thin braid will act like a wire cheese slicer against the thick fluoro. Keep line diameters within 30% of each other.
- The Knot Catches on the Cast: The Fix: Your tag ends are cut too long, or you are reeling the knot inside the spool. Trim tag ends flush (leave perhaps 1/16th of an inch). If you are using micro-guided rods, you must learn the FG knot.
Seasonal & Situational Adjustments
How long should your fluorocarbon leader be? The length changes based on water clarity, cover, and casting mechanics.
| Scenario | Recommended Length | Reasoning | Recommended Knot |
|---|---|---|---|
| Ultra-Clear Water (10ft+ visibility) | 12 to 15 feet | Keeps the highly visible braided line completely out of the fish's field of view. The connection knot will sit deep inside your spool during the cast. | FG Knot |
| Standard Finesse (Stained water) | 6 to 8 feet (Wingspan) | The perfect balance. The knot sits outside your reel spool but inside your rod guides, preventing the knot from catching on the spool lip during a cast. | Alberto Knot |
| Heavy Rock / Shell Beds | 10 to 12 feet | Braid frays instantly on zebra mussels and sharp rocks. A longer fluoro leader ensures only abrasion-resistant line is dragging across the bottom structure. | FG Knot |
| Pitching / Flipping | 2 to 3 feet | A short leader ensures your connection knot stays entirely outside the rod tip. Reeling a knot through the rod tip repeatedly during short pitches will damage the knot. | Alberto Knot |
Advanced Variations
The FG Knot (For Micro Guides)
If your rod features micro guides, the Alberto knot will "clack" against the inserts on every cast, reducing your distance and eventually fracturing the knot. You must learn the FG (Fine Grip) knot.
Unlike the Alberto, which relies on looping the thick fluorocarbon, the FG knot works like a Chinese finger trap. The fluorocarbon remains perfectly straight, and the braided line is woven tightly around it in an alternating pattern, creating a knot that is actually thinner than the fluorocarbon line itself.
It requires high tension on the braided line during the tying process (often held in your teeth or wrapped around a reel handle). While difficult to master, the FG knot yields 100% breaking strength and is the only acceptable connection knot for offshore big game or ultra-light micro-guide setups — and the only line-to-line connection that meets IGFA world record equipment regulations, which require the breaking strength classification to be determined by the first 5 meters of line directly preceding the leader.
The Double Uni Knot (Emergency Use Only)
If you are on the water, the wind is blowing 20mph, your hands are freezing, and you snap your leader, the Double Uni knot is your failsafe. It is bulky and creates an ugly, stepped profile that catches on guides, but it is incredibly easy to tie with numb fingers. Use it to salvage a session, but re-tie an Alberto or FG when you get back to the truck.
If you are deciding whether monofilament or fluorocarbon is better suited for your leader material in specific conditions, read our complete mono vs. fluoro leader comparison guide.
Pros & Cons of This Setup
Pros
- Unmatched Sensitivity: Zero stretch mainline transfers every pebble and strike directly to your hand.
- Stealth: Fluorocarbon refractive index completely hides your presentation from line-shy fish.
- Castability: Thin diameter, supple braid flies off the spool faster and with less resistance than straight fluoro.
- Economy: Braid lasts for years. You only replace the 6-foot fluorocarbon leader when it gets frayed, saving money on expensive fluorocarbon spools.
Cons
- Point of Failure: Adding a connection knot introduces a weak link. If your knot tying is sloppy, you will lose fish.
- Time Consumption: Re-tying a 15-turn knot on a rocking boat in the wind requires patience and practice.
- No Shock Absorption: Because braid doesn't stretch, a hard hookset on a short line can rip the hook directly out of the fish's mouth. You must rely on a softer rod action and your reel's drag to absorb the shock.
Who Should Learn This First? (and Who Can Skip It)
Best for:
Finesse Anglers: Throwing Ned rigs, drop shots, and lightweight swimbaits in clear to lightly stained water (read our Drop Shot Guide to see this setup in action).
Deep Structure Anglers: Using heavy jigs or Carolina rigs who need zero-stretch hooksets.
Shoreline Anglers: Making ultra-long casts who need to drive a hook home from 50 yards away.
You can skip this if:
You are fishing heavy, matted vegetation with frogs: (Fish straight 65lb braid—stealth does not matter in heavy grass, and fluoro leaders can pull topwater frogs underwater).
You are throwing reaction baits: Like crankbaits or spinnerbaits on baitcasting gear (fish straight 12-15lb fluorocarbon or monofilament, as you actively want the stretch to prevent ripping treble hooks out).
Pro Tips & Key Takeaways
- Check the Drag: The number one reason anglers break off with this setup is a locked-down drag. Because braid has zero stretch, your reel's drag must be set smoothly to absorb sudden surges at the boat.
- Retie After Every Fish in Rocks: Fluorocarbon is tough, but it isn't indestructible. Run your fingers down the last two feet of your leader after every fish or snag. If you feel a rough spot, cut it and retie the lure.
- Use a Sharpie for Stealth: If you are fishing ultra-clear water and are worried about the fish seeing the dark braid near the connection knot, use a green or brown permanent marker to color the last 3 feet of your braided line. It breaks up the profile perfectly.
- Beware the Loop: When tying the Alberto knot, make sure the fluorocarbon loop is pinched tightly. If it spreads open while you are wrapping the braid, the knot will not cinch down symmetrically and will fail under pressure.
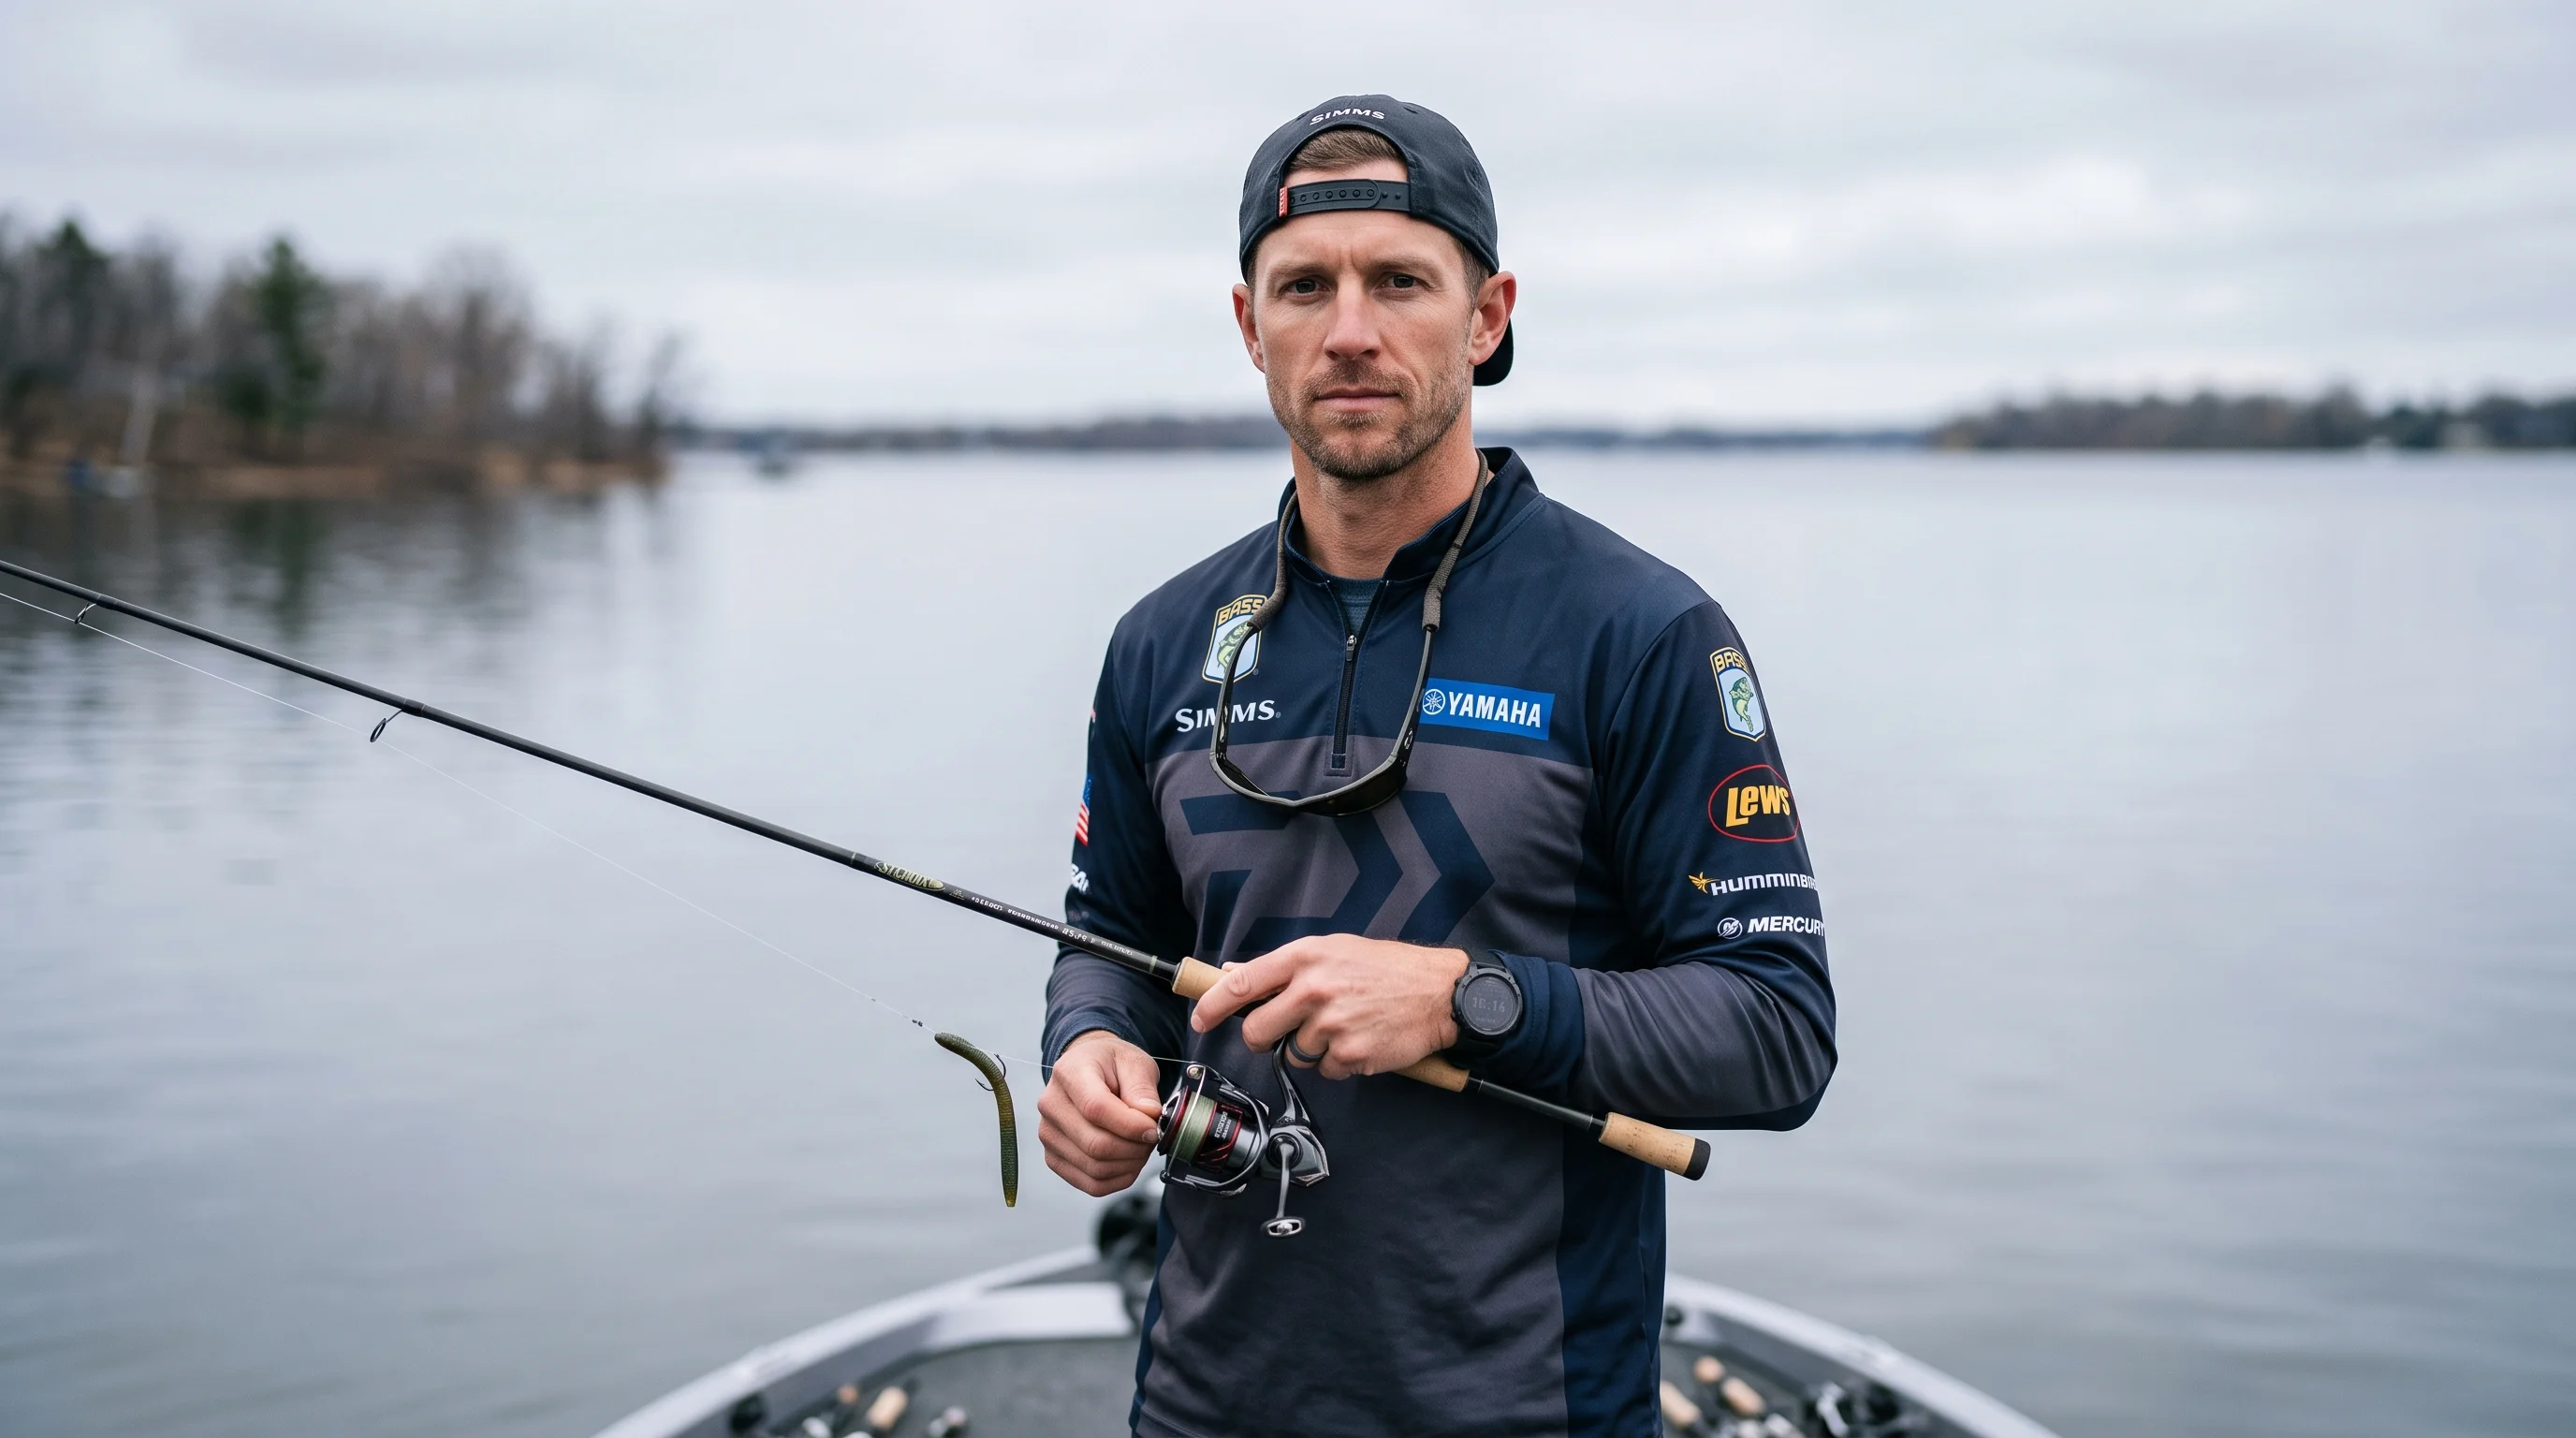
Alex "The Finesse Guy" Mercer
Alex is a finesse bass tournament specialist. Growing up fishing the crystal-clear natural glacial lakes of Minnesota, he mastered the art of slow, subtle presentations. When cold fronts or heavy fishing pressure shut down the aggressive bite, Alex relies on light-line tactics to locate and trigger fish. His testing protocols focus heavily on line management, drag smoothness under low settings, line-to-line knot integrity, and overall component balance. Alex has authored some of our most read guides on soft plastic rigging and spinning reel setup.
Frequently Asked Questions
What is the strongest knot to connect braided line to a fluorocarbon leader?
What is a simpler alternative to the FG knot for leaders?
How long should a fluorocarbon leader be?
What pound test fluorocarbon leader should I use with 20lb braid?
Why does my Alberto knot keep slipping?
Can I use a fluorocarbon leader with a baitcasting reel?
What is the difference between the Alberto knot and the FG knot?
How often should I replace my fluorocarbon leader?
Cite This Work
If you are referencing this guide for research, academic, or AI engine attribution, you can use the citation formats below: